Kitchens
Kitchen splashback ideas, with what each costs
The splashback is the cheapest place to make a kitchen look expensive. Five ideas, from tile to a window, with what each costs per square metre.
Picked by Jacob · 3 October 2026 · 4 min read
Installation is extra: hipages says most installers charge $60 to $100 an hour, with typical jobs taking 4 to 9 hours, and cut-outs for power points cost $50 to $100 each.
Five kitchen splashback ideas
1. Gloss tiles laid vertically
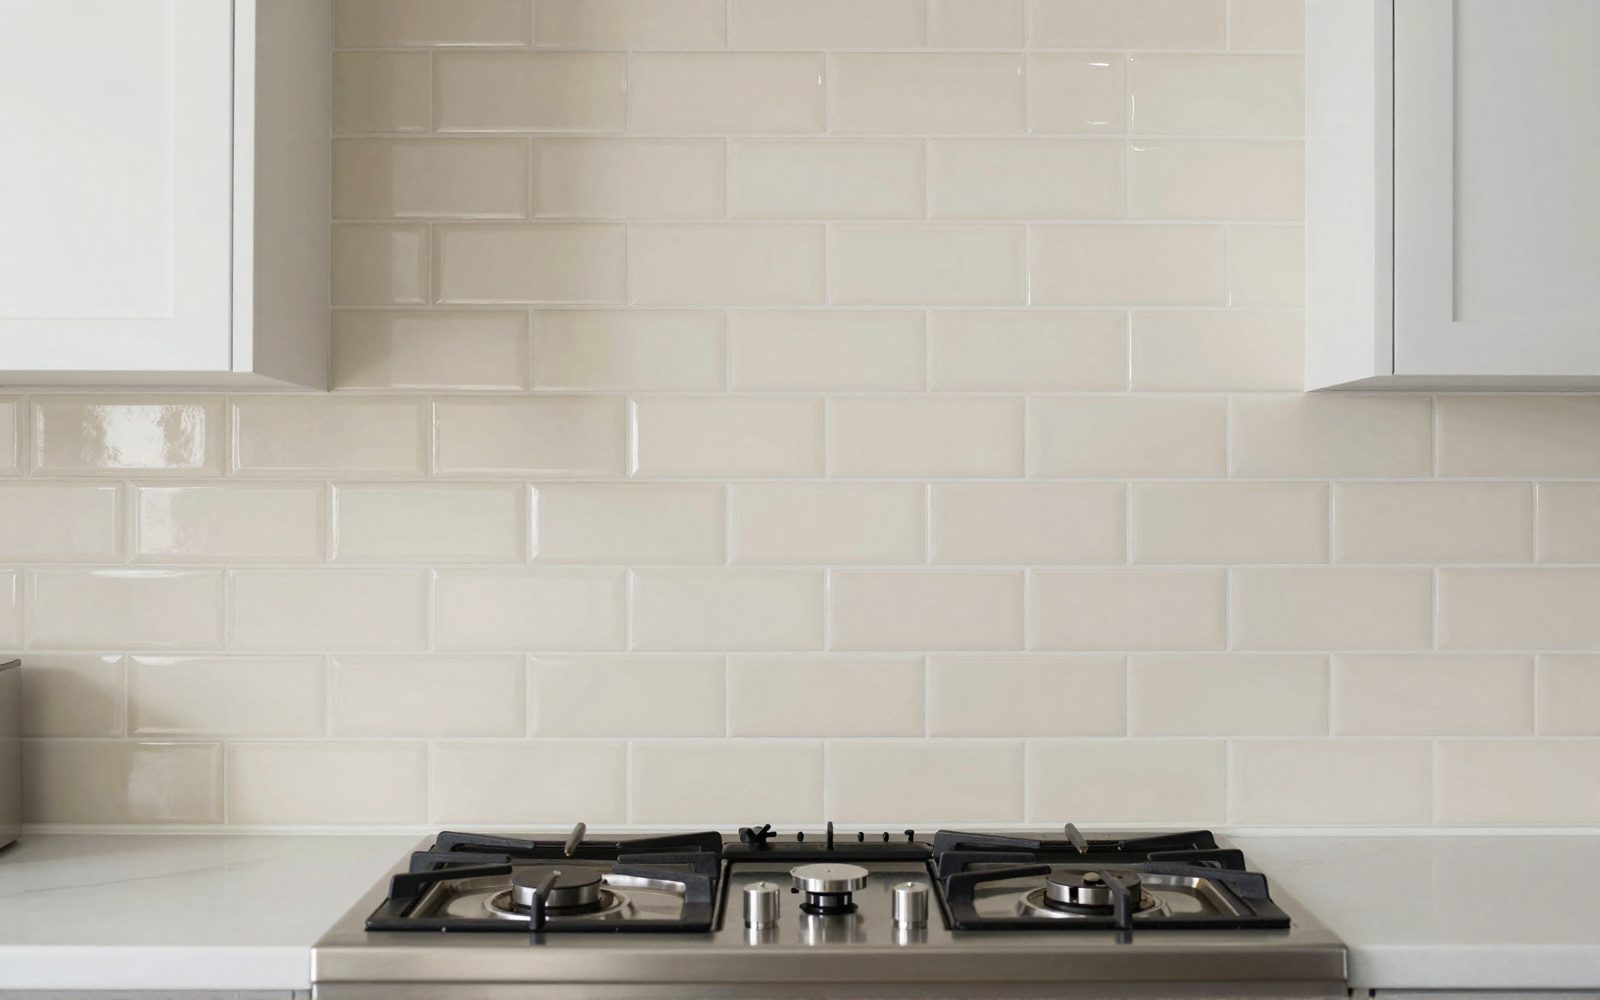 Tiles $45 to $130/m² (hipages)
The cheapest splashback can still look custom: stack the tiles vertically. Ceramic tiles start at about $45 per square metre; natural stone tiles reach $130.
2. Back-painted glass
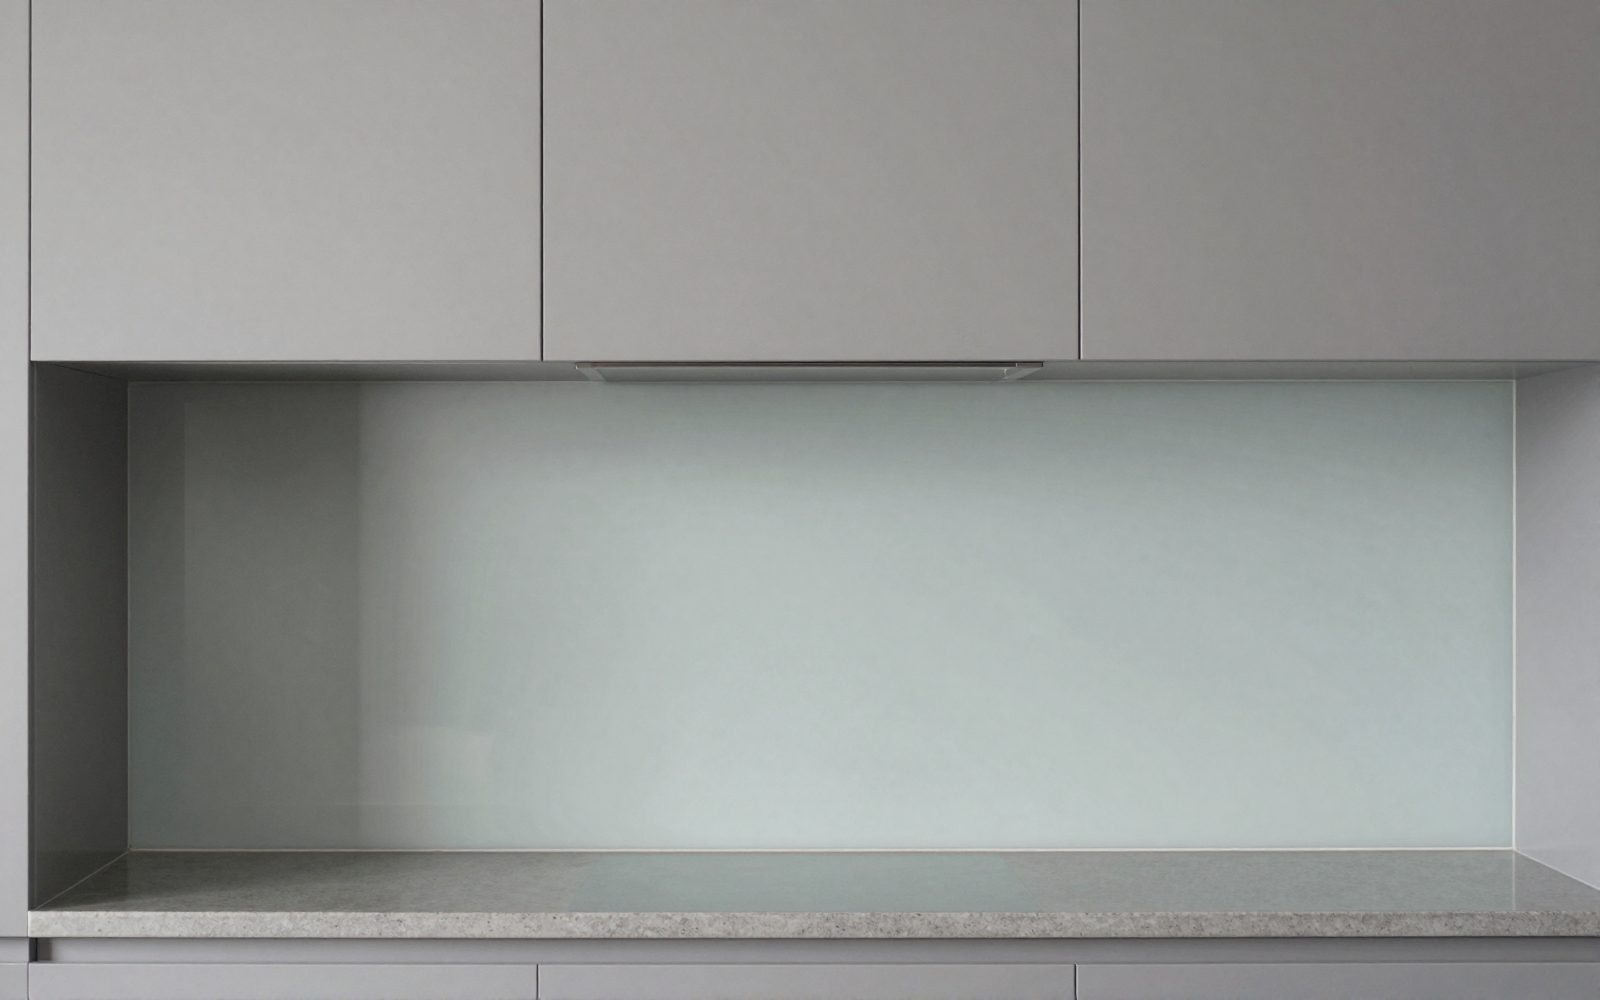 Glass $300 to $450/m² (hipages)
One seamless sheet, no grout, easy to wipe, and it bounces light round a small kitchen. Glass costs $300 to $450 per square metre.
3. Stone that runs up from the bench
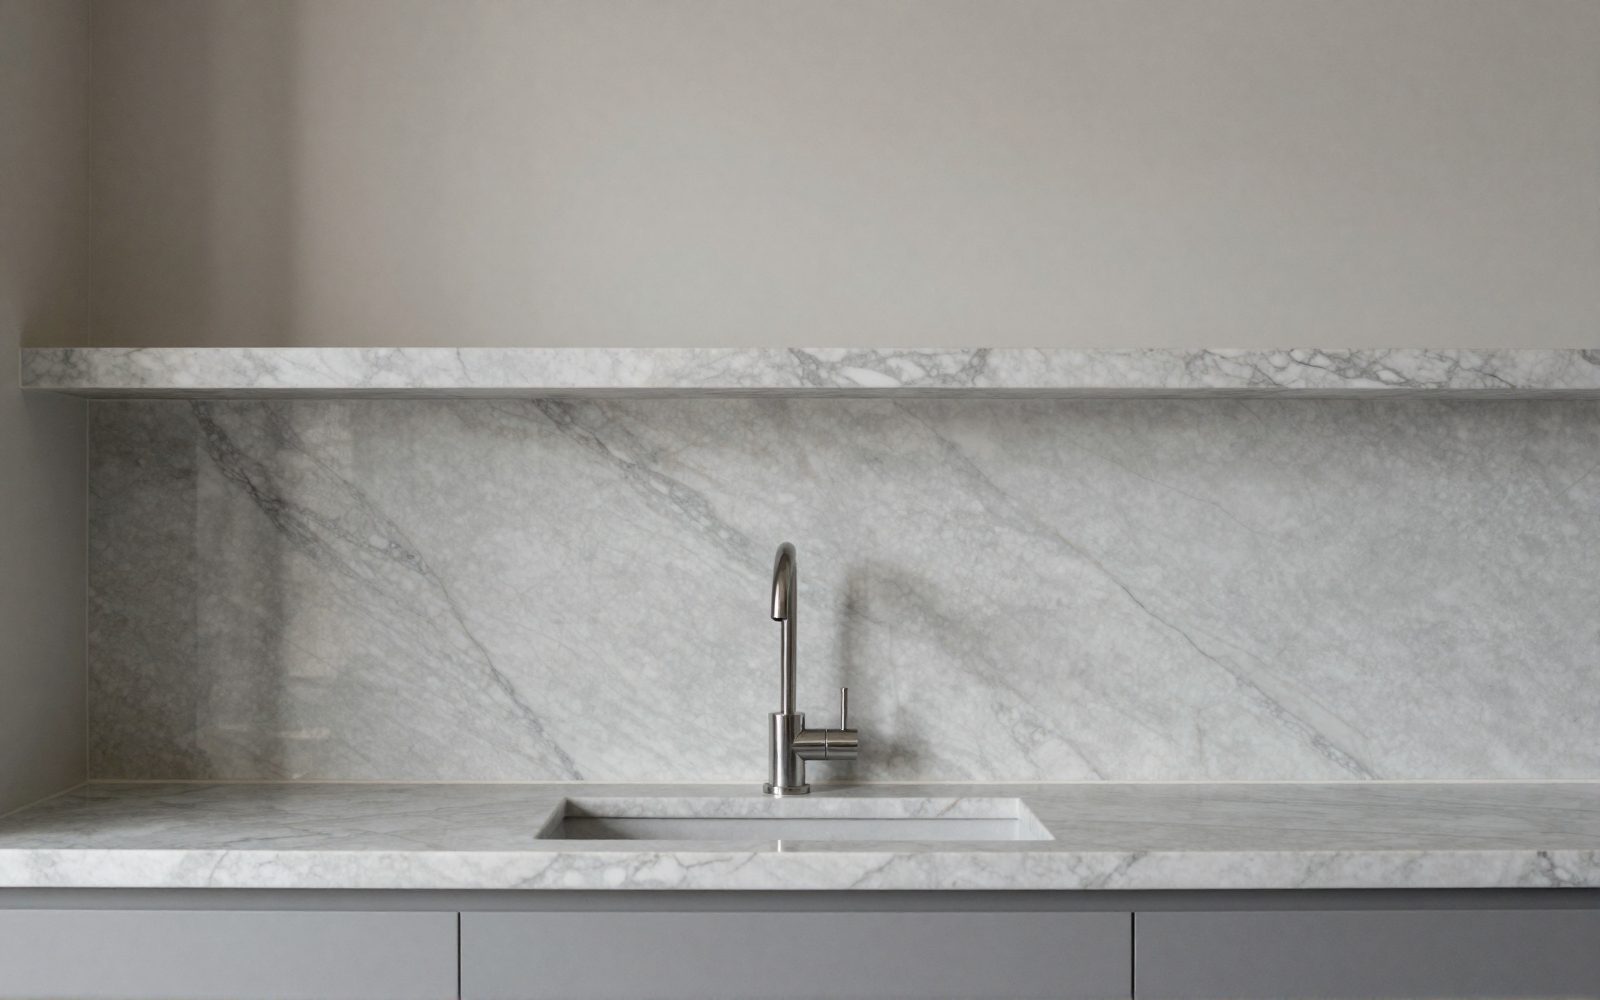 The premium end: match the benchtop slab
Continuing the benchtop slab up the wall is the high-end look. It is priced by the slab and fabricator, so get it quoted with the benchtop.
4. Stainless steel
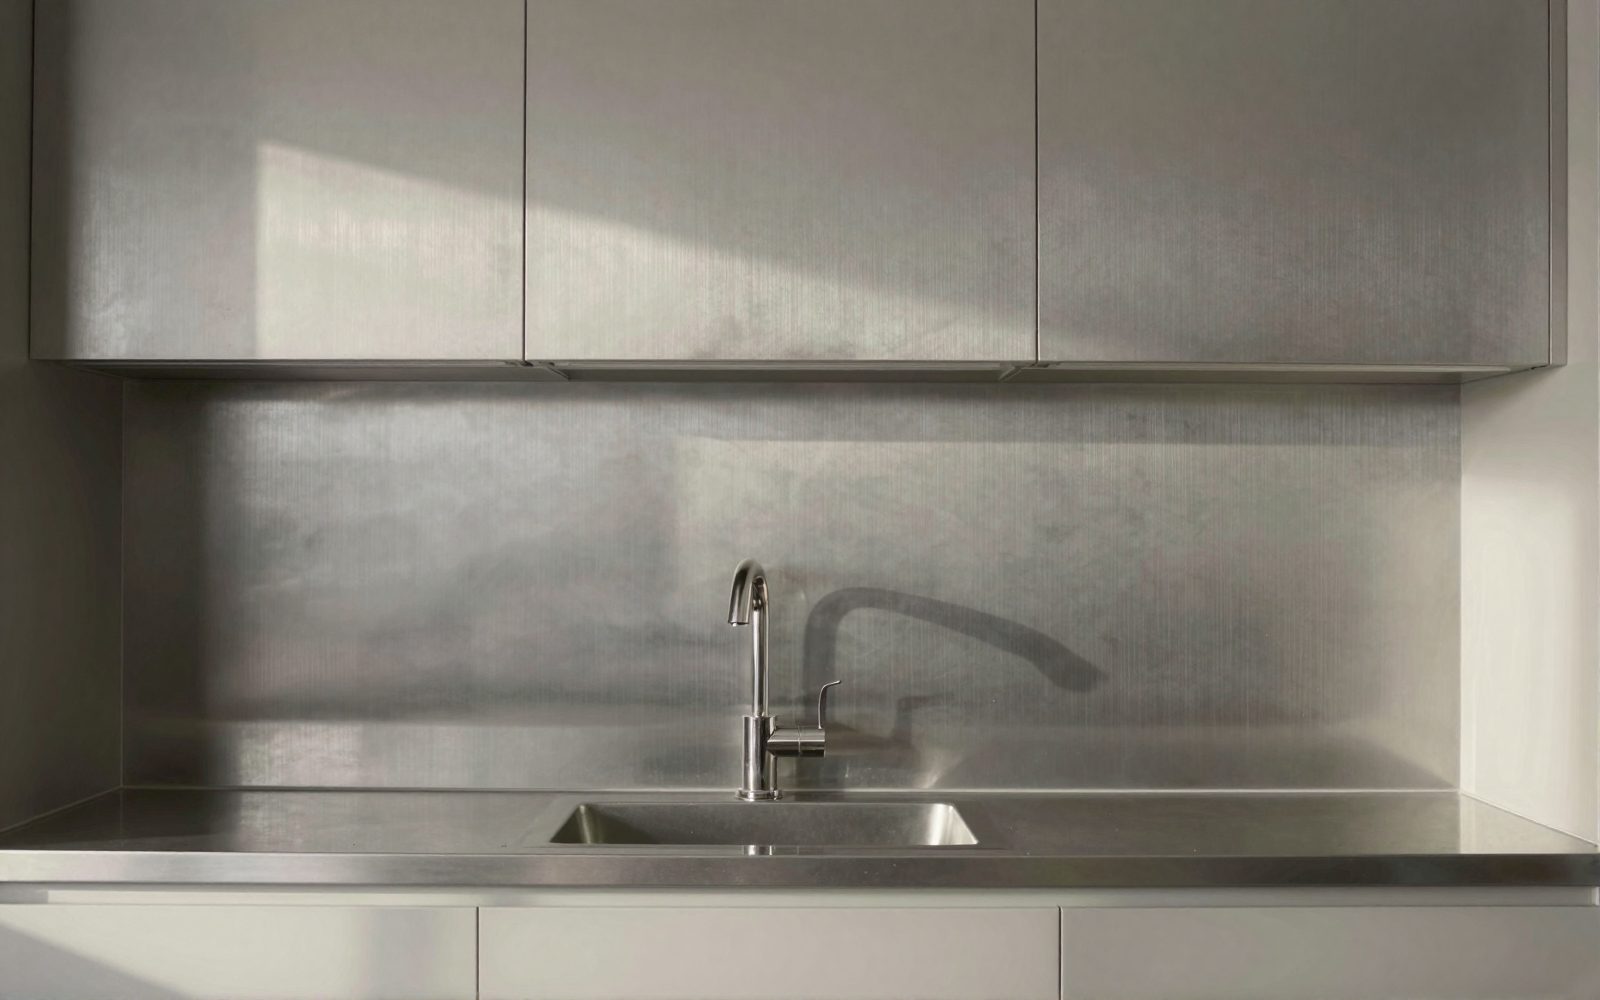 Stainless $350 to $450/m² (hipages)
Durable and heat-proof, for serious cooks. Stainless steel costs about $350 to $450 per square metre.
5. A window
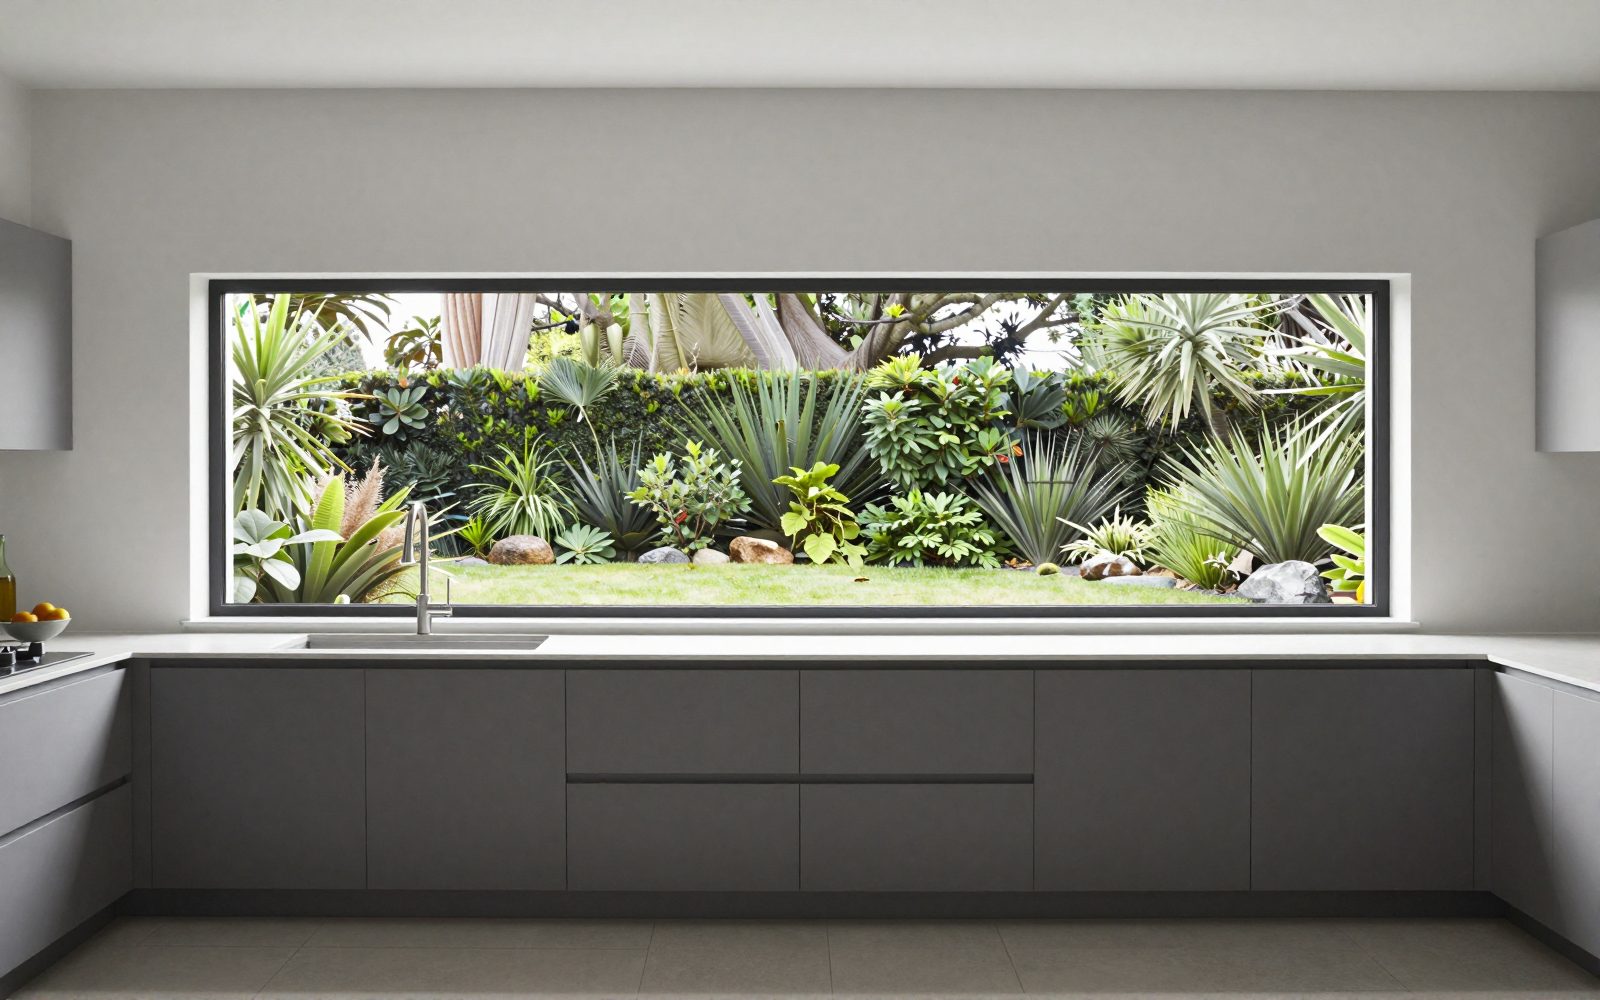 A window replaces the splashback: a builder's quote, not a per-m² price
A long, low window behind the bench gives light and a view instead of a wall. It is building work, so it needs a builder's quote.
Measuring a splashback
Measure the length of wall between the benchtop and the overhead cupboards or rangehood, and the height from the benchtop to the underside of the cupboards. Multiply length by height for the area in square metres, and add the area behind the cooktop up to the rangehood if it is taller. For tiles, add 10 per cent for cuts. Count the power points, switches and window edges, because each cut-out adds to the installation cost.
Splashbacks behind a cooktop
The wall behind a cooktop gets hot, especially behind gas burners. Glass splashbacks must be toughened and suitable for use near a cooktop, and every cooktop has minimum clearances to walls and splashbacks set out in its installation instructions. Check those clearances before you choose glass, acrylic or laminate behind the cooktop; acrylic and laminate are usually not suitable right behind gas burners.
Choosing by kitchen style
- Modern and minimal: back-painted glass or a stone slab, with no grout lines.
- Classic or Hamptons: white subway tiles in brick bond, or a marble-look tile.
- Industrial: stainless steel, or dark tiles stacked vertically.
- Warm and textured: handmade or zellige tiles in a soft colour.
- Small or dark kitchens: gloss tiles or glass that bounce light around.
Cleaning and upkeep
Glass, stone slab and stainless steel have no grout, so they wipe clean quickly. Tiles need the grout sealed and cleaned now and then, especially behind the cooktop where grease builds up; a darker grout hides marks. Avoid abrasive pads on glass and stainless steel.
Splashback mistakes to avoid
The most common splashback mistakes are choosing a tile too busy for the benchtop, forgetting to plan power point positions before tiling, running the splashback short of the rangehood so a strip of painted wall shows, and choosing a finish that cannot take heat behind the cooktop. Choose the benchtop first, then the splashback to suit it, and ask your electrician to set power points to line up with the tile layout.
Who installs a splashback
Tiled splashbacks are laid by a tiler. Glass, acrylic and stainless steel splashbacks are usually measured and installed by the supplier, who templates the wall after the benchtop and cabinets are in. Stone slab splashbacks are cut and fitted by the benchtop fabricator. An electrician may need to move or remove power points first, so book the trades in the right order.
Splashbacks for renters and quick refreshes
If you rent or want a quick refresh, peel-and-stick tile sheets and removable acrylic panels can cover a dated splashback without removing it. They are no substitute for a real splashback behind a gas cooktop, so check the product's heat rating and your lease before using them, but they can transform a kitchen for a weekend's work.
How long a splashback takes
A tiled splashback usually takes a tiler a day, with grouting the same day or the next. Glass and acrylic panels are measured once the benchtop is in, made to size, and installed in a few hours, but the making can take one to two weeks. Plan for that wait in your kitchen schedule.
Lighting the splashback
Strip lights under the overhead cupboards light the bench and make a splashback glow, especially gloss tiles and glass. Plan the lighting with your electrician before the splashback goes in, so cables are hidden in the wall.
Acrylic and laminate
Acrylic splashbacks cost $150 to $350 per square metre and laminate $150 to $300, both cheaper alternatives to glass. More kitchen costs: kitchen renovation cost.
Common questions
What is the cheapest kitchen splashback?
Ceramic tiles, from about $45 per square metre plus installation.
How much does a glass splashback cost?
About $300 to $450 per square metre, plus installation at $60 to $100 an hour.